 Help Centre
Installing Linux on Your Star Labs Laptop
This guide covers installing Ubuntu and Linux Mint — two of the most popular Linux distributions.
The steps are almost identical for other distributions as well.
🟠 Installing Ubuntu
1. Create a Bootable USB Drive
Follow one of our guides to create a bootable USB stick:
2. Boot from USB
-
Insert your bootable USB drive.
-
Turn on your computer and repeatedly tap the F2 key to open the boot menu.
-
Select your USB drive from the list and press Enter.

-
In the next menu, choose Install Ubuntu to start the installation process.

3. Select Keyboard Layout
Choose your preferred keyboard language and layout.

4. Updates and Software Options
You’ll see two installation types:
-
Normal installation: Includes popular applications such as a media player and office tools.
-
Minimal installation: Installs only the essentials.
We recommend selecting:
-
✅ Download updates while installing Ubuntu
-
✅ Install third-party software
💡 Tip: A network connection is required for downloading updates.

5. Erase Disk and Install
Select Erase disk and install Ubuntu to proceed.
⚠️ Warning: This will delete all data on your drive.

6. Select Region
Choose your region or time zone.

7. Create Your User Account
Enter your name, device name, and password.

8. Wait for Installation to Complete
Once installation finishes, remove your USB drive when prompted and press Enter to restart.

9. Installation Complete
At the login screen, select your user account and enter your password to start using Ubuntu.

🟢 Installing Linux Mint
1. Create a Bootable USB Drive
Follow one of our guides to create a bootable USB stick:
2. Boot from USB
-
Insert your USB drive.
-
Turn on your computer and tap the F7 key repeatedly to open the boot menu.
-
Select your USB drive and press Enter.

-
Choose Start Linux Mint, and once the desktop loads, double-click Install Linux Mint to begin.

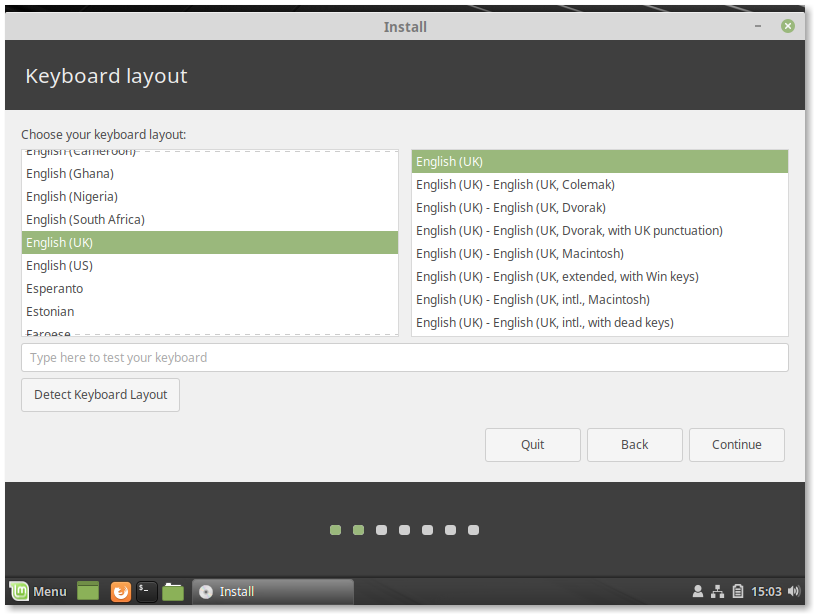
3. Select Keyboard Layout
Choose your preferred keyboard language and layout.
4. Connect to the Internet and Updates
You’ll be prompted to connect to a network.
While optional, it’s recommended to do so for updates and driver installation.
If connected, enable Install third-party software for better hardware compatibility.

5. Erase Disk and Install
Select Erase disk and install Linux Mint to proceed.
⚠️ Warning: This will delete all data on your drive.

6. Select Region
Choose your region or time zone.

7. Create Your User Account
Enter your name, device name, and password to create your user account.

8. Complete the Installation
Once installation finishes, click Restart Now.
When prompted, remove the USB drive and press Enter.

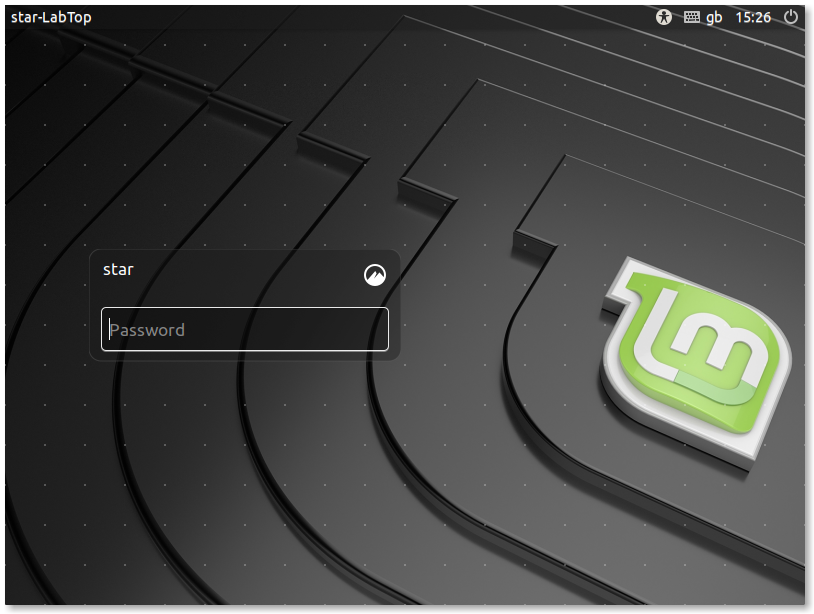
9. Installation Complete
You’ll arrive at the login screen. Select your username and enter your password to start using Linux Mint.
✅ That’s it! You’ve successfully installed Linux.
You can now begin personalising your system, installing updates, and exploring your new OS.