This guide contains the steps for installing two different Linux distributions; Ubuntu and Linux Mint. The steps are very similar for other distributions.
Ubuntu:
1 Create a bootable USB drive
Follow our guide to create a bootable USB drive on Linux, macOS or Windows.
2 Boot from USB
Firstly, insert the USB drive and turn on your computer whilst repeatedly tapping the F2 key. This will bring up the boot menu.
Select your USB drive from the list and press enter.

On the next menu, select the option called Install Ubuntu. Shortly afterwards you will arrive at the installer. Select the option Install Ubuntu.

3 Select Keyboard Layout
Select your required keyboard language and layout.

4 Updates and Software Options
There are two installation options here: a "minimal" installation which will only install Ubuntu and the essential programs, and a "normal" installation which will include commonly used programs such as media player and productivity applications.
There are two additional options on this screen: download update while installing Ubuntu and install third-party software. We recommend enabling both of these options.
Please note: a network connection will be required for the updates.

5 Erase disk
Select the option Erase disk and install Ubuntu - this will format the disk and you will lose any data stored on the drive.

6 Select region

7 Enter your information
When prompted, enter your information. This will be used to create your user account and password.

8 Wait for the installation to finish
Once the installation is complete, remove the bootable USB when prompted and press the enter key.

9 Installation Complete
You will arrive at the login screen, click on your username and enter the password you previously chose.

Linux Mint:
1 Create a bootable USB drive
Follow our guide to create a bootable USB drive on Linux, macOS or Windows.
2 Boot from USB
Firstly, insert the USB drive and turn on your computer whilst repeatedly tapping the F7 key. This will bring up the boot menu. Select your USB drive from the list and press enter.

On the next menu, select the option called Start Linux Mint. Shortly afterwards you will arrive at a desktop. Double click the icon labelled Install Linux Mint.

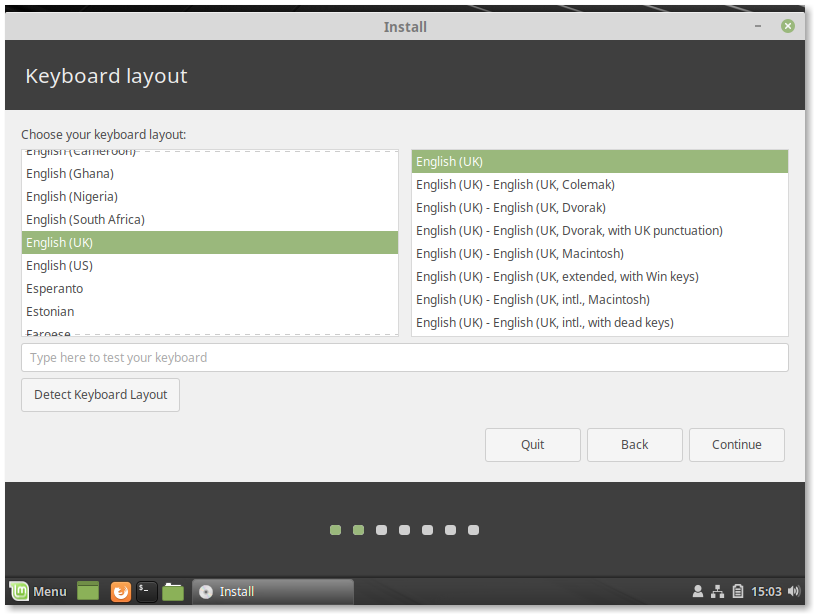
3 Select Keyboard Layout
Select your required keyboard language and layout.
4 Connect to the internet and Updates
On the next screen, you will be prompted to connect to the internet. This is optional but we recommend doing this.
If you have connected to the internet, you will be shown an option to install third-party software.

5 Erase disk
Select the option Erase disk and install Linux Mint - this will format the disk and you will lose any data stored on the drive.

6 Select region

7 Enter your information
When prompted, enter your information. This will be used to create your user account and password.

8 Wait for the installation to finish
Once the installation is complete, click Restart Now and then remove the bootable USB when prompted and press the enter key.

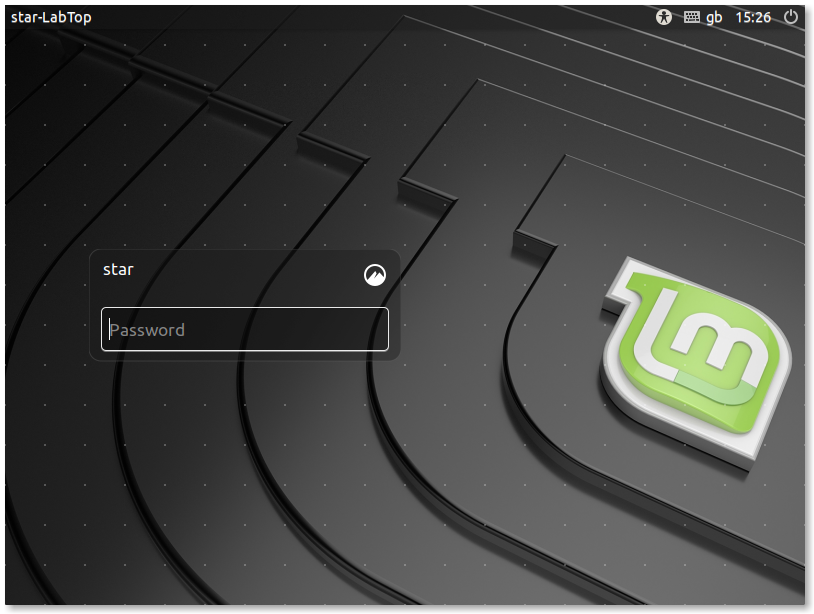
9 Installation Complete
You will arrive at the login screen, click on your username and enter the password you previously chose.